Showing posts with label recipe. Show all posts

Monday, August 13, 2012

PRIMAL-ish PIZZA CRUST

Thought I would put this here, even if it is already on facebook.  Redundancy is a good thing when it comes to saving digital info, right?


I'm not gonna call this fully Primal, or grain free, but it is gluten free. I have tweaked the flours to go for more protein and fat and less carb, but there is a fair bit of carby carb left. SO, if you are going for a very low carb diet, you might not want to make this. However, if you want pizza as your 20% or as a cheat, or even on a carb re-feed day, this should fit the bill nicely! I have yeast in this because I like the taste. If you don't want it you could add some baking soda, or just rely on the eggs for lift. My goal with this pizza was to make a compromise between the purely paleo/primal purist crusts and your standard gluten free - but chock full of carbs- crust. I want to have my pizza and eat it, too!
125 grams blanched almond flour
100 grams coconut flour
100 grams sweet rice flour
100 grams tapioca starch
75 grams potato starch
2 tsp xanthan gum
1/2 tsp guar gum
1 Tbsp sea salt
4 tsp active dry yeast
1/4 cup olive oil
1/2-1 cup warm water
1 cup cheese (I like 1/2 parmesan and 1/2 mozzarella)
1 cup finely shredded zucchini/summer squash
3 eggs
1. Mix flours, starches, gums and salt in a big mixing bowl until well combined, with no lumps.
2. Add yeast to 1/2 cup warm water to proof.
3. Add cheese and zucchini to the flour mixture and mix and rub the ingredients together until fully mixed.
4. Beat eggs in a small bowl or measuring cup. Add yeast mixture and oil, then add this to the big bowl of flour. Mix well, adding more water if needed. It will be a moist dough, but it should hold it's shape well.
5. Let rest/rise for 1 hour. It won't rise like wheat dough, but those yeasties will be eating some of the sugars for ya! And making the yummy taste of pizza dough.
6. Divide dough into 2 or more lumps. Roll out between sheets of parchment paper to desired thickness. I like them thin because they will puff up in the oven by about double. When I get the circle I want, I take off the top parchment and fold over the edge of the dough to make a little crust - about a 1/2 inch wide or so. Then I put the parchment back on, put my hand under the bottom paper and flip the whole thing over. It makes a nice looking edge that imitates a wheat dough crust, if you care about that sort of thing. Take off the top paper and brush olive oil over the whole top of the crust.
7. Put in a 500 degree oven for five minutes, preferably on a pizza stone, leaving the parchment under the crust. If you don't have a stone, a cookie sheet is fine.
8. Take out of oven, top as you see fit and return to the oven for another 5-7 minutes, or until it is as bubbly and browned as you like. Enjoy!

Makes 2 pizzas, with about 25 grams of carbs per slice, if you cut 8 slices per pizza.  Not horrible, but a treat, for sure.  Good thing this is a very filling pizza.

Saturday, July 03, 2010

Berry Abundant

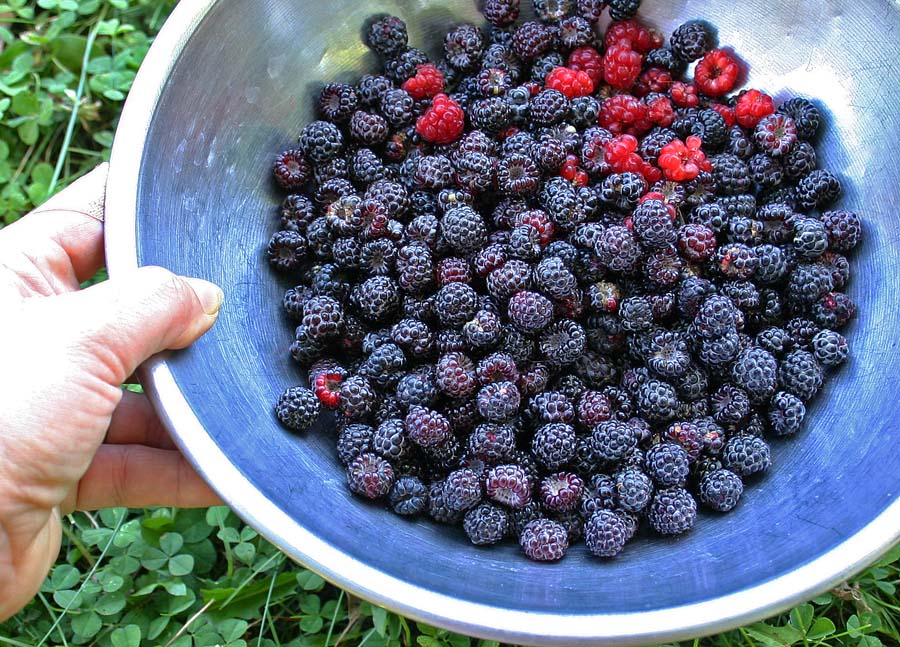
How would you like to be able to pick a big bowl full of berries every day for a few weeks of the year, for free, just by taking a walk around your yard?
Or go to a local farm and pick berries from your berry CSA, enough to come home and freeze up some for winter, after you have stuffed yourself on their juicy goodness?

And how would you like to be able to make this for dinner after the first strawberry picking of the season (this appears to be becoming a tradition)?

I would! And I am so blessed to be able to do so.

Feeling abundant and wanting to share, I am going to give you my recipe, just developed this week, for black raspberry ice cream. It is actually a bit sherbet-like, with more fruit than cream, so if you like the tart-sweet of berries, you are going to love this!

Black Raspberry Ice Cream


1 cup black raspberry puree (you will need over two cups of berries to get this amount of puree- just press them through a strainer and compost/feed to the chickens or pigs/discard the seeds)
1 cup sugar
1 egg
1 cup cream
1 cup milk
1/8 tsp citric acid


Mix all ingredients together and freeze in an ice cream maker, straining the mixture as you pour it into the machine. I do this to get those few seeds that find their way through the strainer and any lumpy bits of egg out. Makes a generous quart of ice cream.


You could substitute red raspberries, or even frozen berries for fresh if you have to. The citric acid is key to a good tart-sweet effect, but you could probably substitute lemon juice, if you can't find any citric acid. Maybe a couple teaspoons of juice. Taste as you add it to see if you like it, before freezing. Remember that sweet is tempered by cold, so it will taste sweeter in custard form than it does in ice cream form.


Let me know if you try it and what you think!

Oh, I forgot to say that instead of composting the seeds, after you strain the puree, make raspberry lemonade. Just add a quart or so of water to them and stir until all the juice is off the seeds and in the water. Strain out the seeds and add some sugar and lemon juice to taste. Plop in a few ice cubes and enjoy!

Thursday, January 14, 2010

Homemade Lotion

This is for Justine:

For years now I have been interested in making my own cosmetics and toiletries. I have hit upon a great recipe for lotion. I like it because it is light and does not separate. I can even use it on my face. OK, here it is:
2 Tbsp stearic acid powder
1/4 cup coconut oil (I have made this recently with half coconut oil and half cocoa butter and it is even nicer!)
1/2 tsp baking soda
1/2 cup distilled water
Melt stearic acid and oil(s) together. I use a glass measuring cup set in a pan of water on the stove. Dissolve baking soda in distilled water and heat to almost boiling. Microwave works great for this. Stir the water solution into the oil. Mixture will foam up so be sure the container is big enough to handle at least twice the volume. Mix fully and let cool. Add any essential oils you desire for scent when cool. This gives you one cup of lotion.
Let me know if you try it and what you think! Oh, I should say that I got the recipe from the book Natural Beauty at Home by Janice Cox.